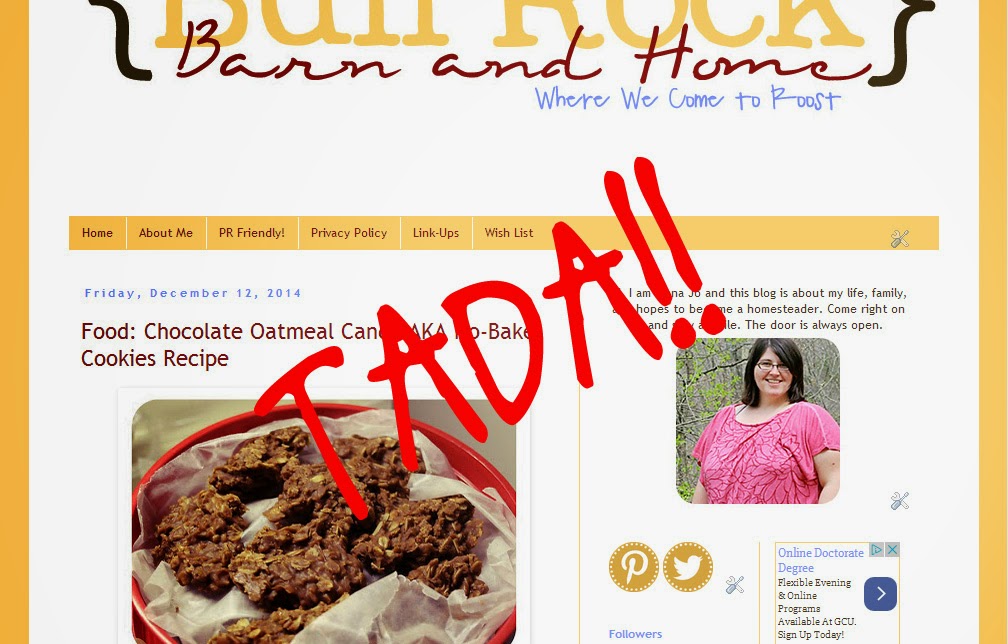
OK, y'all know a few months back I made a major mistake. I accidentally deleted FIFTY, yes 50, of my blog posts. I almost had a heart attack. It was sheer panic here. It's not that I blog every day, or that millions of people were relying on those posts, but they meant a lot to me. Family recipes, lots of time, and lots of effort had been put into each of those posts. Even if in the end I was going to be the only one reading them.
So, I went straight to Google. Only to find out that once a post is deleted on Blogger, it is gone. There is no deleted folder that you can recover it from. POOF into thin air! After many hours searching I ran into
THIS PAGE. It took me quite a while to figure out exactly what I needed to do to get my posts back, but in the end, it worked. I was so thankful!
My problem was that I am a visual learner. I need to a good hand holding and lots of pictures to figure these things out. I decided I'd do screen shots and post it on here to show you how I did it. It may not be exactly how they would have done it (though they pointed me in the right direction), but it is how I done it, and it worked. Yes, It is time consuming, but you can get your posts back (usually). You DO need to be on the computer that you used to originally to post from and hopefully the cookies haven't been cleared.
All your links bring you to pages that look like this. You are in a panic. What should you do?
First, Google the title of the the post (with your blog name). If the post is there, look on the right side. There should be a little arrow. Click that. Does it say Chached? If so, click it.
This should bring up a copy of what your post looked like before it was deleted. I use Chrome, so I just right clicked and clicked on Inspect Element.
This will bring up a page of coding or plain jibber-jabber that is hard to even look at. Hold the Ctrl key and hit F. It will bring up this little box that is circled at the bottom of the page. Type in the word "hentry" and press enter.
This is going to look up your Post ID. It will highlight the word "hentry". Below it is a long number. As is circled in the pic below. Copy that number.
Now, open your Blogger and start to write a post. At the top is a URL that contains your Blog ID. This url should end with the word editor.
Now, you want to type in the info on the picture below after the word "editor" in your URL. Instead of typing in the words "Post ID Number" you will need to paste in the actual number that you copied earlier on the page full of coding jibber-jabber. Now copy all of that URL and paste it into a new tab.
Now, it SHOULD bring up your original post. There may be a different way to do this, but here is how I done it.
Click the tab that says HTML. Highlight the whole thing and COPY.
Now, go back to the other editor tab as if you were going to type a new post. Hit the HTML tab there, and PASTE. Now you should be able to click the Compose tab and the entire draft should be there as it was originally. You will need to put in a new title, set the date to when you want it or originally had it, and add the labels/tags back. Click PUBLISH and TADA your post is back!

Like I said, this isn't quick, but it works. You will now have a new URL for the post so you will need to change any links that you had on your sidebar/FB/Pinterest directing people to that post.
Anyway... I hope this is helpful to y'all.

