
Daddy called last week wanting to know if we were going to do anything with the grapes on our concord grape vine. I had mentioned to him earlier in the week that it was hanging full of grapes. I told him I hadn't really planned anything yet, and that he was welcome to them. Just come on up and I'd help him pick them.
He, my nephew Austin (we call him Bud), myself, and my oldest son, Bailey, helped pick them. We picked over two gallons and still had 1/2 to 3/4 a gallon still hanging on the vine.

Aren't they gorgeous?

Well, Mom called Tuesday Morning around 9 AM to tell me she was going to make grape jelly and ask if I wanted to come down and help her. She hadn't expected Dad to come home with two gallons of grapes. LOL. So, I loaded up all the boys school books and laptop and off we went. They did all their work at her kitchen table and I ran back and forth between helping her and them.
Before you start on your jelly, you need to get your jars ready. Be sure to sterilize them.
There are several methods... you can sterilize them by running them through your dishwasher I've heard or by complete immersion in a boiling water bath for 10 minutes and kept hot until ready to be filled. Someone even suggested heating them in the oven at 250. However, using the dishwasher with a heated dry would probably be the quickest and easiest way to do it.
Wash your lids and rings. Cover with simmering water before placing them on the jars.
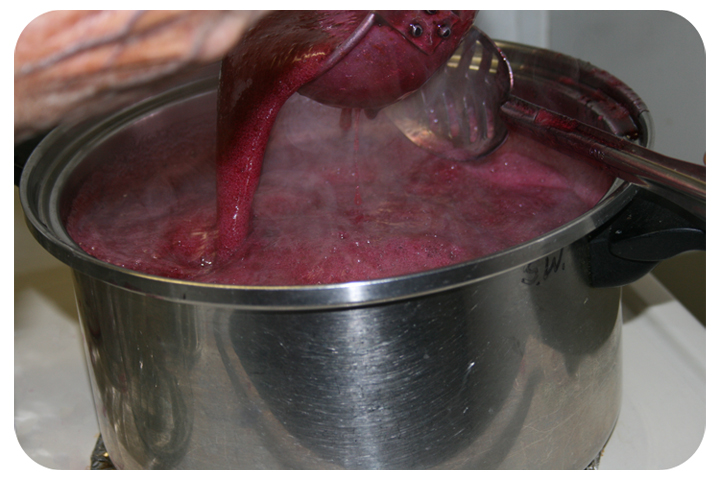
This cooker was heaping full of grapes to be cooked. The photo was taken after they had cooked and several scoops had been run through the mill.
The recipe calls for 3 lbs of grapes to be cooked in 1 cup of water. We had no clue how many pounds we had and just added about a quart or so of water. Bring to a boil, cook about 10 minutes or so.

Scoop some out, and run them through a food mill.
This is what the skins/pits should look like that are left in the mill.

Here is what the juice looks like after it has been through the mill. No skin or seeds in there.

We ended up having to make 4 batches. Do not double your jelly recipes. It is important to make one batch at a time or they will not set properly.
For your jelly, you will need...
4 cups of juice
1 pkg of Jel-Ease or other pectin
6 1/2 cups of sugar
Measure your sugar out in a bowl, set to the side.
Put your juice in a cooker, stir pectin into the juice, place on heat and bring it to a full boil. Stir continuously.
Now add in your sugar, slowly.
Bring it back to a full rolling boil. {{It can not be stirred down}}
Stir constantly.
Use a timer and boil for 2 minutes.
Please be careful. It is HOT!
Remove from heat and skim off the foam if you wish.
Fill your hot jars. Leave 1/4 inch of headroom.
Now wipe any juice from the rims of the jars and quickly put on your lid and ring while the jam is hot. You may need to hold the jar with a dishtowel while you put the lid on. They say fingertip tight.
The Ball Blue Book of Preserving says the next step would be to process the jars for 10 minutes in a boiling-water canner. To do this you just put the jars on the canning rack and lower them into simmering water. Make sure they are covered by at least one inch of water. Cover with lid and heat to a steady boil for the amount of time on the recipe. Turn off the heat and let the jars stand in the water for 5 minutes. Remove jars from water and sit them upright on a towel on the counter for 12 hours.
Now with that being said, I normally don't do the processing at the end. We eat our homemade jelly so fast there really isn't a need for it. After we put the lids on we leave them sitting on the stove top. In about half an hour they jars should be sealed. When they seal the tops will be flat or even look like they are caved in a smidge. There will be no bump on top and it won't make a popping sound when you touch them. If the jars haven't sealed, and the jam is still hot, turn the jar upside down for about 15 minutes. It should seal. Then we put in the fridge and forget it. But you may want to do what book calls for if you aren't going to eat yours straight away.
That's it. Enjoy!

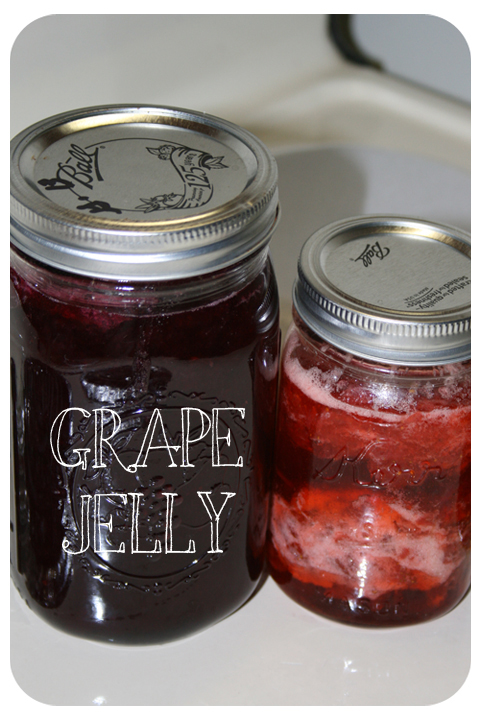
And.. if you are wondering why there is something red in the jar next to it in the photo also, it was Strawberry Preserves. We made another batch of that also. You can see my tutorial for it, HERE.
I am sharing this post at Farmgirl Friday!
No comments:
Post a Comment