Denim and Homespun Rag Quilt Tutorial
Hey all! I figured I would *try* to do a tutorial and show you how I am making this Nifty Thrifty Denim Rag Quilt. I will do the tutorial in parts as I go. I hope you enjoy yourself, learn something, and that you are inspired to make one yourself. If you do, please show me how it turns out. Ok, here we go.
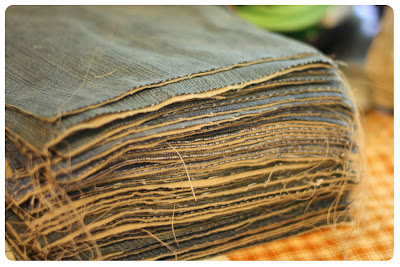
First, you will want to decide how big you want your quilt to be and what size squares you are going to use. I am using 8.5 inch squares (cause that is the pattern I already had): Ten down and ten across. I wanted my quilt to be half denim and half homespun.
After you decide what materials you want to use for you Nifty Thrifty Rag Quilt. Gather them up. I used mainly what I had on hand. Reduce, Reuse, Recycle!
You will need a square for the front, a square for the back, and depending on what materials you use, possibly some sort of liner. I am using denim and homespun for my front and flannel for my back. Because my quilt is going to be really heavy and really thick, along with the fact that my sewing machine is on it's last legs, I chose not to use any sort of batting or liner. It is really up to you. If I had used a liner I would have just used another piece of flannel in the middle.
Then, you will need to gather your supplies.
Rotary Cutting Mat Cutting Pattern
 Rotary Cutter
 A few extra blades
 .
Sewing Machine
.
Sewing Machine Thread
 Extra Needles
 Bobbins
 Ruler
Ruler or Yard Stick
 Fabric Pencil
 Pins
Pins Pin Cushion
 Scissors
 Post It Notes
 Pencil
 Rag Quilt Snips
After you have all your supplies ready get your fabric and start cutting. Cut, cut, cut, cut!
I just lay my pattern on top of my material and then use my rotary to go around it.
Be wise and cut to get the most out of your fabric. Think first, cut second.
You will probably have a few blisters by the time you get it all cut out. That is ok though, what doesn't kill you, makes you stronger.
 Now find yourself somewhere neat and clean to sew. Ok.. well, messy works too. I know from experience. Just find somewhere.

Next you will want to drag out your brand new sewing machine. Or an old monster works too. I've had my Singer Simple for about 6 years. She's been a good one even if she is about to kick the bucket. I think I paid around $80 for her. $80 for 6 years of abuse ain't (yes I know ain't isn't a word) bad.
 Take a piece of your front material and a piece of your back material and put their WRONG sides together. I know this is agaisnt everything we usually do, but just do it. Now pin. I know I didn't, but that is a whole 'nother story.
 After you have your bobbin wound, machine threaded and ready to go, put your pinned piece under the needle in one corner (top left) and sew diaginally to the opposite (bottom right) corner.

 When you have one line done, turn your material around and do the other side. Making a big X in the middle of your fabric. I am horrible at making straight lines. You could use a fabric pencil and a ruler to mark a straight line, then just sew down it. You will be washing your quilt later anyway. It will wash right off. I'm a rebel. I just wing it.
 Looks ok to me!
 Here is one done on my homespun.
 That is it for part one. I'll updated with part two as soon as I can! Good luck.
Be sure to let me know how it goes for you.
{Nifty Thrifty Denim Rag Quilt Tutorial Part 2}
All of the LINK-UP link backs are shared on Part 6 of the tutorial.


No comments:
Post a Comment