{Nifty Thrifty Denim Rag Quilt Tutorial Part 2}
{Nifty Thrifty Denim Rag Quilt Tutorial Part 3}
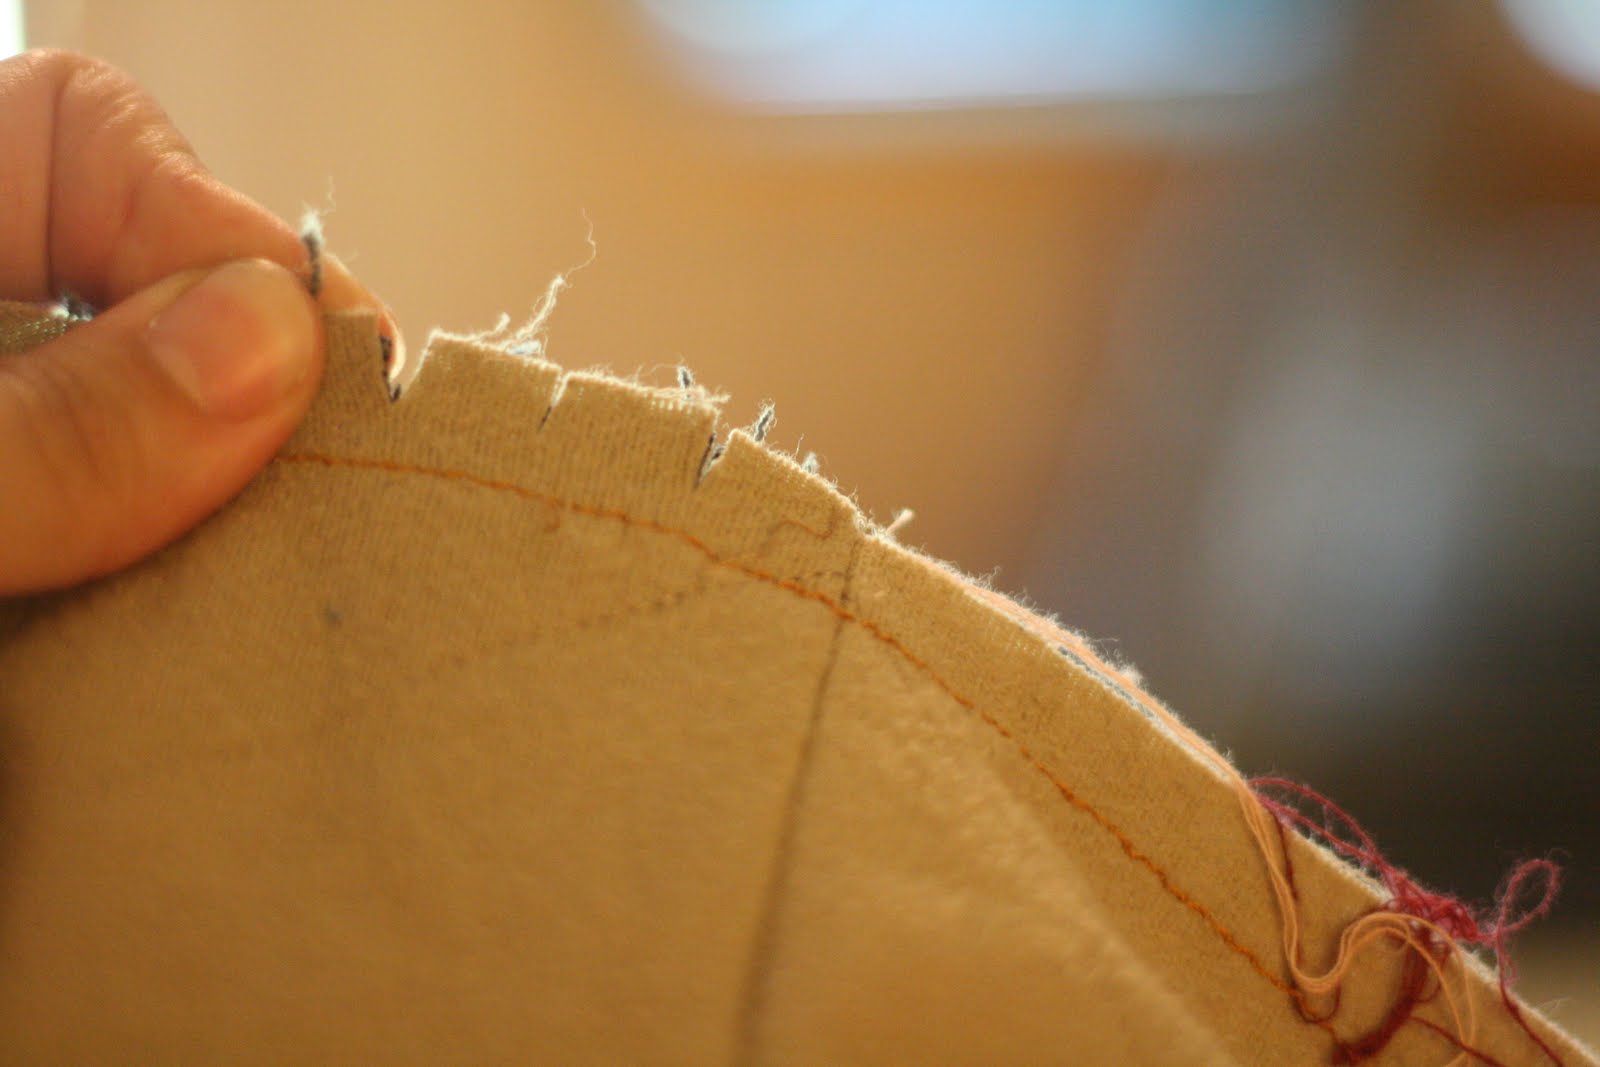
{Nifty Thrifty Denim Rag Quilt Tutorial Part 4}
{Nifty Thrifty Denim Rag Quilt Tutorial Part 5}
Part 6


I put the quilt on my son's twin bed just to take a picture. I'll get a better picture once the sun isn't so bright.
My quilt is made of 8.5 inch squares. 10 down and 10 across. I made it to be used on the couch, but it is a little wide. I could have went 9 down and 9 across to make it fit perfectly, but it is still nice. *IF* you were going to make one for a twin size bed I would probably do 12 down and 12 across.
So, there you have it! Whatcha think?
I hope you have enjoyed this tutorial, have learned a few things, and will share the photos of your quilts with me.
Have a wonderful day, God Bless!
Alana Jo