{Nifty Thrifty Denim Rag Quilt Tutorial Part 2}
Part 3
Hey y'all. It is me again! I hope you have been enjoying the tutorial so far and have been able follow along with my craziness and actually learn something.
We are moving right along with this quilt as it is time to get down to the nitty gritty: sewing the squares together.
First and foremost, you will want to have your squares in perfect order within the stack for each row. Your top square should be row one, square one. The last square of row one should be on the bottom. If you have ten rows, you should have ten stacks. If you have labeled your pieces, this should be a breeze.
Now, take your {row one, square one} and {row one, square two} off the stack.
Take the right edge of square one and pin it to the left edge of square two with their WRONG sides touching.
You COULD also pin all the squares together in a row like the next two photos and then all you have to do is sew, sew, sew.
I found sewing the edges with them pre-pinned was a little too difficult. So I decided to do it *MY WAY*. See, I told ya I am a rebel. I'll show you how to be a rebel too. Here is how I did it.
Take your {row one, square one} and {row one, square two} off the stack.
Put the WRONG sides together.
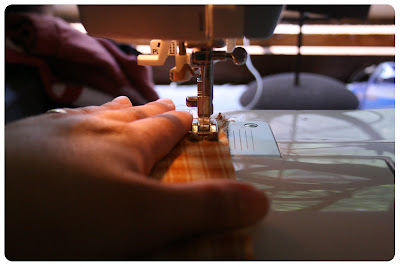
Even up the edges.Pin and sew down the edge and sew.
Be sure to backstitch at the beginning and end.
Once it is sewn it should look like this. Some people go over their stitching a second time. You can if you want. I didn't.
Now that you have those two sewn together, spread them out flat so that they are in the correct order. Repeat the process with the {row one, square two}'s right edge being sewn to {row one, square three}'s left edge. Continue to do this until you have them all sewn together with their seams facing toward the front.
Once you finish each row, lay it to the side and start on the next. We will work on connecting the rows in Part 4. Sorry if that was confusing. Good luck! Let me know how it goes.
{Nifty Thrifty Denim Rag Quilt Tutorial Part 4}


No comments:
Post a Comment